The Honeywell T4 Pro Thermostat is a programmable device designed for efficient heating and cooling management. It offers ease of use, smart features, and compatibility with various systems, making it ideal for modern homes. The thermostat includes a UWP mounting system, optional cover plate, and essential accessories for seamless installation. Its user-friendly interface and advanced settings ensure optimal performance and energy savings, making it a popular choice for homeowners seeking precise temperature control and smart home integration.
1.1. Overview of the Honeywell T4 Pro Thermostat
The Honeywell T4 Pro Thermostat is a programmable device designed for efficient temperature control in residential settings. It features a user-friendly interface, compatibility with various heating and cooling systems, and advanced scheduling options. The thermostat supports multiple stages of heating and cooling, ensuring precise temperature management. Its compact design and UWP mounting system simplify installation, while the optional decorative cover plate enhances aesthetics. This thermostat is ideal for homeowners seeking a balance of functionality and energy efficiency.
1.2. Importance of Following the Installation Manual
Adhering to the Honeywell T4 Pro installation manual is crucial for ensuring proper setup, safety, and optimal thermostat performance. Incorrect installation can lead to system malfunctions, energy inefficiency, or even damage to the device. The manual provides step-by-step guidance, troubleshooting tips, and essential safety precautions, ensuring a smooth and secure setup process. Following the instructions carefully guarantees reliable operation and maximizes energy-saving features, enhancing overall home comfort and efficiency.
Pre-Installation Checks
Verify package contents, power requirements, and system compatibility before starting. Ensure safety precautions are followed, and all necessary tools and accessories are available for a smooth installation process.
2.1. Package Contents and Accessories
The Honeywell T4 Pro Thermostat package includes the thermostat unit, UWP mounting system, Honeywell standard installation adapter, decorative cover plate, screws, anchors, and 2 AA alkaline batteries. Additional accessories like the J-box adapter ensure a secure and compatible installation. Verify all items are present before proceeding to ensure a complete and successful setup.
2.2. Power Requirements and Compatibility
The Honeywell T4 Pro Thermostat requires a 24VAC common wire for operation and is compatible with most HVAC systems. It supports 2-transformer systems, using the cooling transformer’s common wire. The thermostat is powered by 2 AA alkaline batteries, with optional hardwiring available. Ensure compatibility with your system’s voltage and wiring configuration before installation to guarantee proper functionality and avoid potential malfunctions.
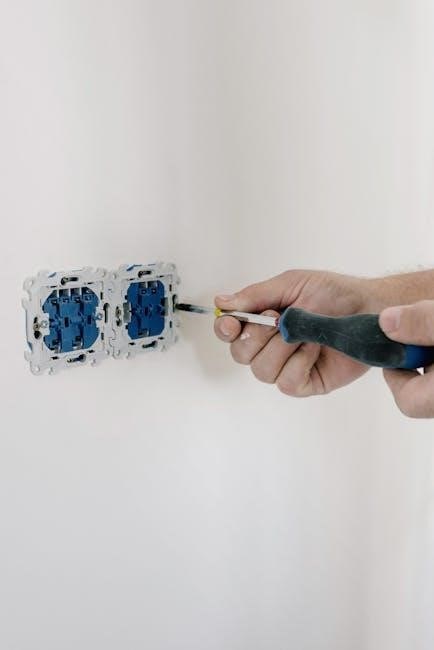
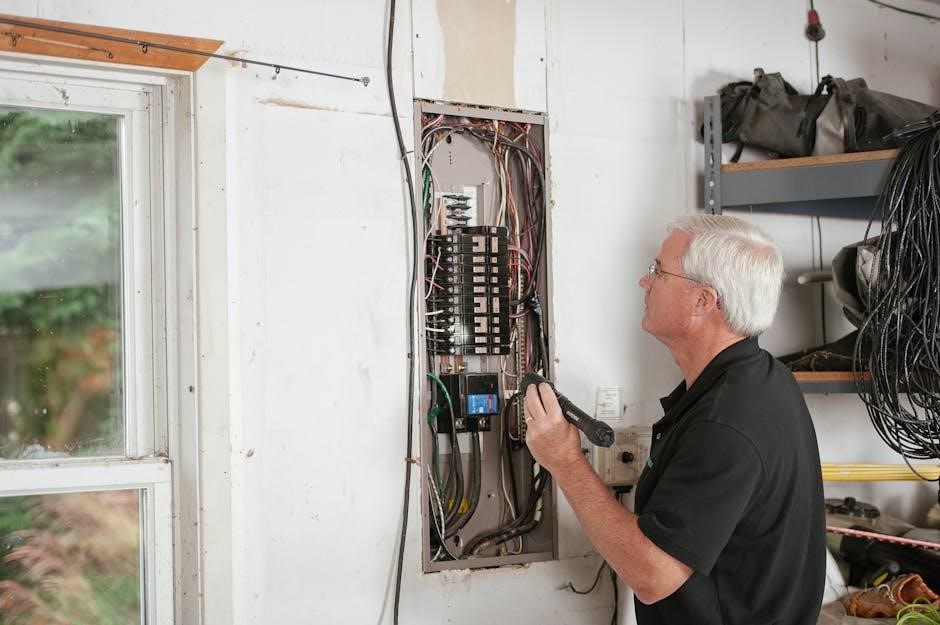
2.3. Safety Precautions Before Installation
Before installing the Honeywell T4 Pro Thermostat, ensure the power to your HVAC system is turned off at the breaker or switch. Verify the power is off using a voltage tester to avoid electrical hazards. This step is crucial for safely handling wiring and preventing accidental system activation during installation. Always follow safety guidelines to protect yourself and ensure a secure setup process.

Wiring and Electrical Connections
Proper wiring is essential for the Honeywell T4 Pro Thermostat. Understand terminal designations and follow guidelines to ensure safe and efficient electrical connections for optimal performance.
3.1. Understanding Wiring Terminal Designations
Understanding wiring terminal designations is crucial for proper installation. The Honeywell T4 Pro Thermostat uses terminals like R (24VAC power), C (common), W (heat), Y (cooling), and G (fan). For heat pumps, additional terminals like AUX (auxiliary heat) and E (emergency heat) are used. Ensure correct wire connections to avoid system malfunctions and ensure safe operation. Refer to the manual for specific terminal assignments and configurations.
3.2. Wiring Conventional Systems (Forced Air and Hydronics)
For conventional systems, connect the R (24VAC) and C (common) wires first. For forced air, link W to the heating stage and Y to cooling. Hydronics systems connect W to the heating valve or boiler. Ensure proper terminal connections to avoid malfunctions. Refer to the manual for specific wiring diagrams tailored to your system type. Secure all wires firmly for reliable operation.
3.3. Connecting Auxiliary Heat and Emergency Heat (TH4210U Only)
For the TH4210U model, connect the auxiliary heat (AUX) wire to the W2 terminal and the emergency heat (E) wire to the designated terminal. Ensure proper connections to avoid system issues. Refer to the manual for specific wiring diagrams and guidelines. Proper installation is crucial for reliable operation of these features in your heating system;
Mounting the Thermostat
Mount the Honeywell T4 Pro Thermostat using the UWP mounting system or optional cover plate. Secure the device to the wall following the installation manual’s guidelines for proper setup and stability.
4.1. Optional Cover Plate Installation
Install the optional decorative cover plate to enhance the thermostat’s appearance. Begin by separating the Junction Box Adapter from the cover plate. Align the plate with the back of the thermostat, ensuring it clicks securely into place. Verify proper alignment and snug fit to maintain a neat look and prevent functionality issues. Follow the installation manual’s guidelines for a proper setup.
4.2. UWP Mounting System Setup
The UWP Mounting System simplifies thermostat installation. Separate the Junction Box Adapter from the cover plate and align it with the wall. Secure the adapter using provided screws and anchors, ensuring proper alignment. Mount the thermostat onto the adapter, snapping it into place firmly. This system guarantees a flush mount and stable installation, enhancing both appearance and functionality.
4.3. Securing the Thermostat to the Wall
Secure the Honeywell T4 Pro Thermostat to the wall using the provided screws and anchors. Align the thermostat with the UWP Mounting System adapter, ensuring a flush mount. Gently press the thermostat onto the adapter until it snaps into place. Tighten the screws firmly but avoid overtightening to prevent damage. Ensure the thermostat is level and stable for proper functionality. Refer to the manual for precise torque specifications to avoid damaging the wall or thermostat.
Installer Setup (ISU)
The Installer Setup (ISU) allows configuration of advanced settings for optimal system performance. Access the menu by holding the CENTER button for 3 seconds, then navigate through options to customize system parameters and test functionality to ensure proper operation.
5.1. Accessing the Advanced Menu
To access the advanced menu for Installer Setup (ISU), press and hold the CENTER button for approximately 3 seconds. This action unlocks the menu, allowing you to configure system settings, test functionality, and optimize performance. Use the navigation buttons to scroll through options and adjust parameters as needed for a customized setup. Ensure all configurations align with your HVAC system requirements for proper operation.
5.2. Configuring System Settings
Configuring system settings allows for customization of the Honeywell T4 Pro Thermostat. Options include setting up multiple heating and cooling stages, enabling energy-saving features, and adjusting scheduling parameters. These configurations ensure the thermostat operates efficiently and aligns with the user’s HVAC system requirements for optimal performance and energy savings.
5.3. Testing the Thermostat Functionality
After configuring system settings, test the thermostat by checking heating, cooling, and emergency heat operations. Ensure the display responds correctly and the system cycles on/off as programmed. Verify that the thermostat activates the appropriate equipment and maintains the set temperature. Testing ensures proper functionality and identifies any issues before finalizing the installation, ensuring reliable performance and user satisfaction. Always test with the power switched off first for safety.
Thermostat Programming and Configuration
Program the thermostat by creating heating and cooling schedules, adjusting temperature setpoints, and enabling energy-saving features to optimize comfort and efficiency in your home.
6.1. Setting Up Heating and Cooling Schedules
To set up schedules, access the thermostat menu, select schedule settings, and choose the desired heating and cooling periods. Program specific temperatures for each time block to ensure optimal comfort and energy efficiency. Save your settings to activate the schedule, allowing the thermostat to automatically adjust temperatures throughout the day. This feature helps maintain a consistent environment while reducing energy consumption.
6.2. Adjusting Temperature Setpoints
Navigate to the temperature settings menu using the thermostat’s touchscreen interface. Use the up and down arrows to increase or decrease the desired temperature setpoints for both heating and cooling modes. Ensure the setpoints align with your comfort preferences and energy-saving goals. Save the adjustments to apply the new temperature settings, which will be maintained by the thermostat during operation.
6.3. Enabling Energy-Saving Features
To enable energy-saving features on your Honeywell T4 Pro, access the ‘Energy Savings’ menu. Enable options like geofencing, which adjusts temperatures based on your location, and smart recovery, which optimizes heating or cooling. Additionally, activate energy usage reports to monitor and reduce consumption. These features help lower energy bills while maintaining comfort.

Power Options and Battery Management
The Honeywell T4 Pro supports AA alkaline batteries or optional hardwiring for reliable power. It features low-battery alerts and efficient energy management to ensure continuous operation.
7.1. Using AA Alkaline Batteries
The Honeywell T4 Pro Thermostat operates on two AA alkaline batteries, ensuring reliable power without hardwiring. Insert fresh batteries with the correct polarity for optimal performance. The thermostat alerts you when batteries are low, preventing unexpected shutdowns. For prolonged use, replace batteries annually or as indicated by low-battery notifications. This feature allows the thermostat to function independently, even without a wired power connection.
7.2. Hardwiring the Thermostat (Optional)
Hardwiring the Honeywell T4 Pro Thermostat is an optional feature that provides a constant power supply, eliminating the need for batteries. Connect the thermostat to a 24VAC common wire from your heating or cooling system. This setup ensures uninterrupted operation and is ideal for homeowners who prefer a wired solution. Refer to the installation manual for specific wiring instructions and safety guidelines to avoid electrical issues.
7.3. Maintaining Power Efficiency
Maintaining power efficiency with the Honeywell T4 Pro Thermostat involves using energy-saving features like smart scheduling and automatic temperature adjustments. Opt for hardwiring or high-quality AA alkaline batteries to ensure reliable operation. Regularly update settings to balance comfort and energy usage, and enable features that reduce unnecessary heating or cooling when the home is unoccupied, optimizing overall performance and energy savings.
Troubleshooting Common Issues
The Honeywell T4 Pro Thermostat may experience wiring issues, screen display problems, or system malfunctions. Refer to the manual for diagnostic steps and solutions.
8.1. Resolving Wiring and Connection Problems
Wiring issues can cause malfunctions. Check for loose connections, incorrect terminal assignments, or damaged wires. Ensure terminals like Y (compressor), W (heat), and C (common) are properly connected. Verify compatibility with your HVAC system. Turn off power before adjustments. Consult the manual for terminal designations and troubleshooting steps. If issues persist, contact a professional or Honeywell support for assistance.
8.2. Addressing Screen Display Issues
If the screen is unresponsive or dim, check battery levels and ensure they are fresh. Verify power sources and connections. Restart the thermostat by removing batteries or disconnecting power for 30 seconds. If issues persist, perform a factory reset. Ensure screen settings are configured correctly for brightness and timeout. Consult the manual for troubleshooting specific display malfunctions or contact Honeywell support for further assistance.
8.3. Fixing System Malfunctions
Identify system issues by checking error codes or unusual behavior. Ensure proper wiring connections and power supply. Restart the system by cycling power or replacing batteries. Verify thermostat settings align with your HVAC equipment. If malfunctions persist, perform a factory reset or consult the manual for advanced troubleshooting steps. Contact Honeywell support if issues remain unresolved for professional assistance and guidance.
Resetting the Thermostat
Resetting the Honeywell T4 Pro Thermostat restores factory settings, ensuring proper function. Perform a factory reset through the menu or by removing batteries, then follow manual instructions for system restoration.
9.1. Performing a Factory Reset
To perform a factory reset on the Honeywell T4 Pro Thermostat, press and hold the center button along with the menu navigation buttons for about 5 seconds. This action will restore all settings to their default values, ensuring the thermostat is reset to its original configuration. It’s important to note that a factory reset will erase all programmed schedules and preferences, requiring you to reconfigure the thermostat after the reset is complete. This process is useful for troubleshooting or preparing the device for a new installation; Always refer to the installation manual for detailed instructions to ensure the reset is done correctly and safely.
9.2. Reinitializing System Settings
After performing a factory reset, reinitialize the system settings by accessing the advanced menu. Use the navigation buttons to configure basic settings like temperature units, time, and date. Recalibrate the thermostat if necessary and restore any custom preferences; Refer to the installation manual for specific instructions on reconfiguring schedules, temperature setpoints, and enabling energy-saving features to ensure optimal performance and efficiency.
9.3. Recovering from a Reset
After performing a factory reset, the thermostat will revert to default settings. Reinitialize by setting the time, date, and temperature preferences. Reconfigure heating and cooling schedules if previously set. Ensure all wiring connections are secure and test the system to confirm proper functionality. Refer to the user manual for detailed guidance on restoring custom settings and reconnecting to smart home systems if applicable.
Verify proper installation, ensure optimal performance, and conduct recommended post-installation tests to confirm functionality. This ensures efficient operation and reliable temperature control for enhanced comfort and energy savings.
10.1. Verifying Proper Installation
After completing the installation, verify that all wiring connections are secure and match the terminal designations. Ensure the thermostat is mounted level and firmly attached to the wall. Check that the power switch for the HVAC system is on and fresh AA batteries are installed. Review the installer setup (ISU) configurations and test the thermostat’s heating and cooling functionality to confirm proper operation. Ensure the screen display is responsive and all features are accessible. Verify that the thermostat is communicating correctly with the HVAC system and that all safety precautions have been followed; Finally, ensure that the thermostat is properly grounded and that there are no loose connections or exposed wires. Conduct a final test of the thermostat’s ability to control the heating and cooling system, ensuring that it turns on and off as expected and maintains the desired temperature. Check the battery level and ensure that the thermostat is functioning optimally without any error messages or unusual behavior. Verify that all optional features, such as the decorative cover plate, are properly installed and aligned. Ensure that the thermostat is configured correctly for the specific HVAC system type (e.g., forced air, hydronics, heat pump) and that all necessary settings have been adjusted according to the installation manual. Confirm that the thermostat is set to the correct mode (heating, cooling, or off) and that the schedule and temperature setpoints are programmed according to the user’s preferences. Test the emergency heat function (if applicable) to ensure it operates correctly. Verify that the thermostat’s power-saving features are enabled and that the device is running efficiently. Ensure that the thermostat’s screen brightness and backlight settings are adjusted to the user’s liking. Finally, review the entire installation process to ensure that all steps were followed correctly and that no details were overlooked. This thorough verification process ensures that the Honeywell T4 Pro thermostat is installed correctly and will provide reliable and efficient temperature control for the home.
10.3. Recommended Post-Installation Tests
10.2. Ensuring Optimal Performance
Regularly maintain the Honeywell T4 Pro Thermostat by checking battery levels, ensuring proper wiring, and updating settings as needed; Verify system compatibility and enable energy-saving features to maximize efficiency. Ensure the thermostat is correctly calibrated and aligned for accurate temperature control. Monitor performance through scheduled tests and adjust settings to maintain comfort and energy efficiency. Proper installation and configuration are key to achieving optimal results.