The Wallbox Pulsar Plus is a compact, Wi-Fi-enabled Level 2 EV charger designed for seamless charging compatibility with most electric vehicles. Its sleek design and adjustable current settings make it a versatile option for both indoor and outdoor installations. This guide provides a comprehensive overview to ensure a safe and efficient setup process, covering everything from preparation to final checks.
1.1 Overview of the Wallbox Pulsar Plus
The Wallbox Pulsar Plus is a sleek, compact Level 2 EV charger designed for wall mounting. It features Wi-Fi connectivity, adjustable current settings, and compatibility with Type 1 and Type 2 plugs. The charger supports up to 11.5kW charging power, making it ideal for various electric vehicles. Its durable design includes a convenient holster for cable storage and is available in 40A and 48A versions, ensuring versatility for different charging needs.
1.2 Importance of Proper Installation
Proper installation of the Wallbox Pulsar Plus ensures safety, efficiency, and compliance with local electrical codes. It prevents potential hazards like electrical fires or damage to the charger. Correct setup also guarantees optimal charging performance and extends the lifespan of the unit. Always consult a qualified electrician to ensure compliance with regulations and to handle complex wiring tasks, especially for hardwired installations or high-amperage setups.
System Requirements and Compatibility
The Wallbox Pulsar Plus requires a 208/240VAC power supply and is compatible with SAE J1772 Type 1/Type 2 vehicles, including Teslas with an adapter.
2.1 Technical Specifications of the Wallbox Pulsar Plus
The Wallbox Pulsar Plus operates on 208/240VAC, 60Hz, with adjustable current settings from 16A to 48A. It delivers up to 11.5kW charging power, features Wi-Fi connectivity, and includes a 25ft charging cable. Designed for wall mounting, it measures 7.8 x 7.9 x 3.9 inches and weighs 4.4lbs without the cable. The charger is compatible with SAE J1772 Type 1 and Type 2 vehicles, ensuring broad compatibility.
2.2 Compatibility with Electric Vehicles
The Wallbox Pulsar Plus is compatible with most electric vehicles using SAE J1772 Type 1 or Type 2 connectors. It supports Battery Electric Vehicles (BEVs) and Plug-In Hybrid Electric Vehicles (PHEVs). Tesla owners can use the charger with the Tesla-provided adapter. The universal design ensures compatibility with a wide range of EVs, making it a versatile choice for homeowners and businesses alike.

Safety Precautions and Guidelines
Always supervise children near the charger. Avoid using damaged cables and never touch electrical components with wet hands. Ensure proper handling to prevent accidents and ensure safe operation.
3.1 General Safety Instructions
Always follow safety guidelines to prevent accidents. Supervise children when the charger is in use. Avoid using damaged cables and ensure the charger is installed in a dry, well-ventilated area. Never touch electrical components with wet hands. Check for FCC compliance and ensure the charger operates within the specified temperature range (-22°F to 104°F). Proper handling and installation are crucial to maintain safety and functionality.
3.2 Handling the Charger and Cables
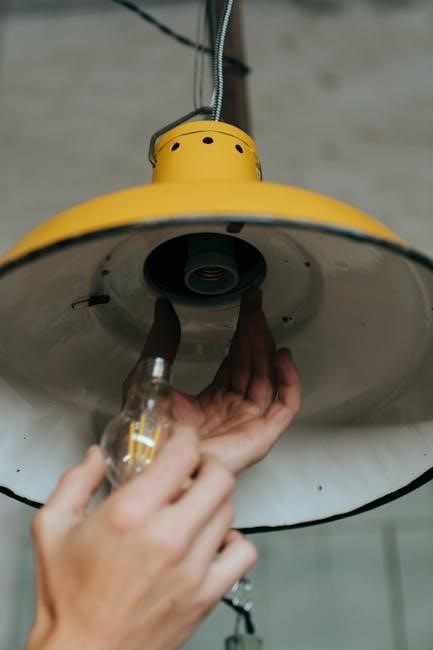
Inspect the charger and cables for damage before use. Avoid lifting or carrying the charger by the power cord or EV cable. Store the charger in a dry, secure location, away from direct sunlight. Ensure the EV connector is stored in the holster to prevent damage. Always handle electrical components with care, and never expose them to water or extreme temperatures.

Installation Methods
The Wallbox Pulsar Plus offers two installation options: NEMA plug-in for existing outlets and hardwire for permanent connections. Choose the method that suits your electrical setup best.
4.1 NEMA Plug-in Installation
NEMA plug-in installation is a straightforward method, requiring a compatible 240V outlet. Ensure the outlet is correctly installed and grounded. Mount the charger near the outlet, using wall studs for stability. Connect the charger to the NEMA receptacle, securing it firmly. This method is ideal for easy relocation and requires minimal electrical work, making it a convenient option for homeowners.
4.2 Hardwire Installation
Hardwire installation involves connecting the charger directly to your electrical system. Choose between rear or bottom wiring entry for convenience. Remove the NEMA cable if hardwiring, then secure the charger to the wallplate. Ensure all connections are tight and meet local electrical codes. This method is more permanent but offers a cleaner appearance. Always consult a licensed electrician for compliance and safety.
Step-by-Step Installation Process
Prepare the location, mount the charger, and connect the power supply. Follow detailed steps to ensure a secure and functional setup for your Wallbox Pulsar Plus charger.
5.1 Preparing the Installation Location
Ensure the installation site is flat, dry, and clear of obstructions. Verify the location complies with local electrical codes and regulations. Check the charger’s dimensions (7.8 x 7.9 x 3.9 inches) to ensure proper fitment. Confirm the area is within the charger’s operating temperature range (-22°F to 104°F). Obtain necessary permits before starting the installation process to avoid delays or violations;
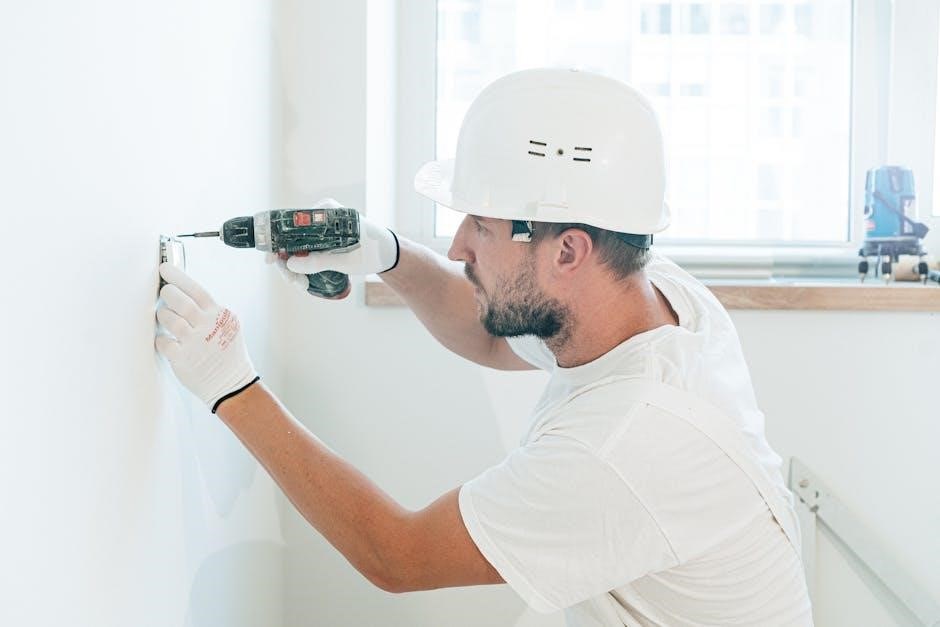
5.2 Mounting the Wallbox Pulsar Plus
Align the wallplate with the wall studs, ensuring it is level and secure. Drill holes for the wall anchors and screw the wallplate into place firmly. For hardwire installations, feed the power supply wires through the designated ports before mounting. Hang the charger from the wallplate, ensuring it is stable and evenly balanced. Always lift the charger by its enclosure, not the cables, to prevent damage.
5.3 Connecting the Power Supply
For NEMA plug-in installations, insert the NEMA 14-50 plug into a compatible 240V outlet. For hardwire setups, connect the live, neutral, and ground wires to the corresponding terminal screws inside the charger. Ensure the circuit breaker is turned off before making connections. Double-check all wire connections for tightness and verify polarity using a multimeter to ensure safety and proper functionality.
Configuring the Charger
Set the rated current based on your electrical capacity. The 40A model defaults to position 6, while the 48A version starts at position 7. Adjust as needed.
6.1 Setting Up the Charger for First Use
After installation, ensure the charger is powered on and paired with the myWallbox app. Launch the app, sign in, and verify the charger’s status. Check for firmware updates and install the latest version. Configure basic settings like charging schedules or energy limits if desired. Ensure all connections are secure and test the charger by connecting it to your electric vehicle to confirm proper functionality.
6.2 Adjusting the Rated Current
Adjust the rated current to match your electrical capacity or vehicle requirements. For 40A and 48A models, default settings are Position 6 and 7, respectively. Use the myWallbox app to modify settings, ensuring they align with your installation. Higher-rated models can be adjusted from 16A to their maximum amperage. Always refer to the installation manual for precise adjustment instructions to ensure safe and optimal charging performance.

Pairing with the Wallbox App
Pairing your Wallbox Pulsar Plus with the myWallbox app enables advanced features like scheduling and monitoring. Install the app, create an account or log in, and connect your charger to start managing your charging sessions remotely.
7.1 Downloading and Installing the myWallbox App
Download the myWallbox app from the Google Play Store or Apple App Store. Once installed, open the app and create a myWallbox account or log in if you already have one. The app is free, user-friendly, and essential for configuring and controlling your Wallbox Pulsar Plus charger remotely. Follow the in-app instructions to complete the setup process after installation.
7.2 Connecting the Charger to the App
Open the myWallbox app and select “Add Charger” to begin the pairing process. Ensure your Wallbox Pulsar Plus is powered on and connected to your Wi-Fi network. Follow the in-app instructions to pair the charger with your account. Once connected, the app will confirm successful pairing, allowing you to monitor, control, and customize your charging experience remotely.

Troubleshooting Common Issues
Check connections, power supply, and Wi-Fi status for connectivity issues. Reset the charger if error codes appear. Ensure firmware is up-to-date for optimal performance.
8.1 Diagnostic Checks
Perform a diagnostic check by ensuring all connections are secure and the power supply is stable. Verify the Wi-Fi connection and check for error codes on the charger or app. If issues persist, reset the charger by briefly disconnecting it from the power supply. Consult the user manual for specific error code solutions and troubleshooting steps to resolve common problems effectively.
8.2 Resolving Connectivity Problems
If the Wallbox Pulsar Plus fails to connect to Wi-Fi or the myWallbox app, ensure your internet connection is stable and the app is updated. Restart the charger by briefly disconnecting it from the power supply. Check for firmware updates and verify that the charger is properly paired with the app. If issues persist, contact Wallbox customer support for further assistance or troubleshooting guidance.

Maintenance and Upkeep
Regular inspections ensure efficiency. Clean the unit and cables periodically to prevent damage. Schedule firmware updates for optimal performance and security.
9.1 Regular Maintenance Tasks
Perform routine inspections to ensure all components function correctly. Clean the charger and cable to avoid dust buildup, which may cause malfunctions. Inspect the cable for wear or damage. Check for any software updates in the myWallbox app to keep the system up-to-date. Regularly verify the connection integrity to maintain safe and efficient charging. Schedule these tasks periodically to prevent issues and extend the charger’s lifespan.
9.2 Updating Firmware
Regular firmware updates ensure optimal performance and security for your Wallbox Pulsar Plus. Connect the charger to the myWallbox app and check for updates under the charger section. Updates are automatically downloaded and installed when connected to Wi-Fi. Ensure the charger remains plugged in during updates to avoid interruptions. This process keeps your charger up-to-date with the latest features and improvements.

Compliance and Regulations
Ensure the Wallbox Pulsar Plus installation meets local electrical codes and regulations. Obtain necessary permits and comply with environmental standards to guarantee safe and legal operation.
10.1 Local Electrical Codes and Permits
Ensure compliance with local electrical codes and regulations before installing the Wallbox Pulsar Plus. Obtain necessary permits and inspections to meet safety and legal standards. Consult a licensed electrician to verify compatibility with your electrical system, including breaker size and NEMA outlet requirements. Proper adherence ensures a safe and lawful installation, avoiding potential fines or hazards.
10.2 Environmental Considerations
The Wallbox Pulsar Plus is designed with eco-friendly principles in mind. Its energy-efficient charging technology minimizes waste, while Wi-Fi connectivity allows for smart charging modes that optimize renewable energy use. The compact design reduces material usage, and its durable construction ensures longevity, reducing the need for frequent replacements. Proper disposal of packaging and recyclable materials is encouraged to support environmental sustainability.
Advanced Features and Customization
The Wallbox Pulsar Plus offers advanced features like scheduling charging sessions and monitoring statistics through the myWallbox app. Users can customize charging settings, set time-based charging, and adjust power output to optimize energy use. Smart charging modes ensure efficient energy consumption, while remote monitoring provides real-time insights into charging performance, enhancing overall user experience and control.
11.1 Scheduling Charging Sessions
The Wallbox Pulsar Plus allows users to schedule charging sessions via the myWallbox app, ensuring efficient energy use. By setting specific times, users can optimize charging during off-peak hours or when renewable energy is available. The app enables customization of start and end times, while the charger adjusts power output to meet these schedules, providing a seamless and energy-conscious charging experience tailored to individual needs and preferences.
11.2 Monitoring Charging Statistics
The Wallbox Pulsar Plus integrates with the myWallbox app to provide detailed charging statistics, offering insights into energy usage, charging duration, and session history. Users can monitor real-time data, track progress, and analyze trends to optimize their charging habits. This feature empowers users to manage their energy consumption effectively, ensuring transparency and control over their electric vehicle charging experience.
After completing the installation, verify all connections and ensure the charger operates safely and efficiently. Conduct final safety checks, test the charger with your vehicle, and confirm proper functionality to guarantee a reliable and secure charging experience.
12.1 Verifying Installation Success
After installation, ensure all connections are secure and the charger is properly grounded. Test the charger by connecting it to your electric vehicle to confirm charging functionality. Verify that the Wallbox app successfully pairs with the charger and displays real-time charging data. Check for any error messages or unusual behavior. Ensure all lights and indicators on the charger are functioning as expected to confirm a successful installation.
12.2 Final Safety Verification
Ensure all electrical connections are secure and properly insulated. Verify that the charger is grounded correctly to prevent shocks. Check for any damage to cables or connectors. Confirm that no error lights are illuminated on the charger. Ensure the charger is out of reach of children and pets. Verify that the installation complies with local electrical codes and safety standards before normal operation begins.